
Learn how to create a tri-fold brochure that folds correctly. Included are free templates for Adobe InDesign and Illustrator.
Design Tips: Posters
Posters are usually seen at a distance for only a moment. Viewers need to be drawn to your design out of a myriad of others, and glean vital information quickly. Here are some tips for successful production:
1. Design for output
Knowing how your design will be used, the type of substrate desired, the finished size, where posters may be placed, or if handbills will be made from the same design, are all incredibly helpful in creating an effective completed project.
The most common printed poster size is tabloid (11x17"). If color is to extend to the edge, then the size you create in InDesign or Illustrator should factor for bleed, either by adding a bleed in your document settings (0.125" on all sides), or by creating your document at output size. Full-bleed tabloid size is 11.25x17.25".
A common poster substrate at Bug Press is 100lb Gloss Book. It is a coated paper with a good thickness that handles ink very well. For even thicker posters, we recommend using our 14pt C2S board.
2. Consider visual hierarchy
Visual hierarchy is the arrangement of elements in an order to suggest importance. Objects with the greatest contrast to their surroundings are almost always seen first. There are many ways to create hierarchy in your design, most commonly by adjusting the relative size of objects, color use, and typographic hierarchy.
Relative size: Enlarging an object is one of the easiest ways to give it visual importance. Conversely, reducing size can de-emphasize and lower visibility. Balance is key, making elements too small can render them unreadable, and too large can be overwhelming. In addition, if too many objects are relatively the same size they compete for attention, rendering the design ineffective.
Color: A cohesive, consistent color palette should always be a priority. Splashes of color can be useful in drawing attention to important information. Using high-impact colors like yellow or red, or contrasting colors like blue and orange, can grab attention and prioritize information. Value, saturation, and temperature are also important things to consider with your design.
Typography hierarchy: Title, subtitle, and body copy should all be organized by size. The title should be the largest and most commanding of all type in your design. The subtitle should be smaller, but still relate to the title. The body copy should be even smaller, but not so small that it becomes illegible.
3. Legibility from a distance
The what, when, where of your design should be immediately clear and easy to read. Printing out a proof at full-size and viewing it at the distance you expect your audience to read it is a great way to check legibility.
4. Directing the eye
We are 'conditioned' to start at the top left of a page, scroll to the right, and then return to the left, following this pattern down the page. Designing your poster to be read in a similar manner as someone would a book can assist in controlling the impact on your viewers.
5. Consider typography
Knowing when and how to use big bold flourishes, modern sans-serifs, chunky monotypes, or delicate scripts, can make or break your design. Using the appropriate styles of type for a project are vitally important, and choosing type that is legible for the location and time of your event, or where to get tickets, can increase sales and traffic. Limiting yourself to a select two or three fonts is also generally recommended.
6. Try using one large visual
Large, dominant images are great for posters. Single item illustrations, close up cropped photos, and oversized display typefaces are all effective ways to create a focal point and command attention.
7. Wait a day
Even though deadlines can be tight, try letting your design sit for at least a day before sending it off to the client or printer. This can be helpful in improving the overall design or for noticing errors or typos.
8. Check your facts
The most important elements of a poster, the what, when, and where must be correct. Confusing something like the dates of an event means that anything sent to your printer is wrong. This adds cost to your project, can delay completion, and can look really bad to a client.
So check the calendar, check the event times, check the address of the venue. And if there's a conflict, notify the client before proceeding.
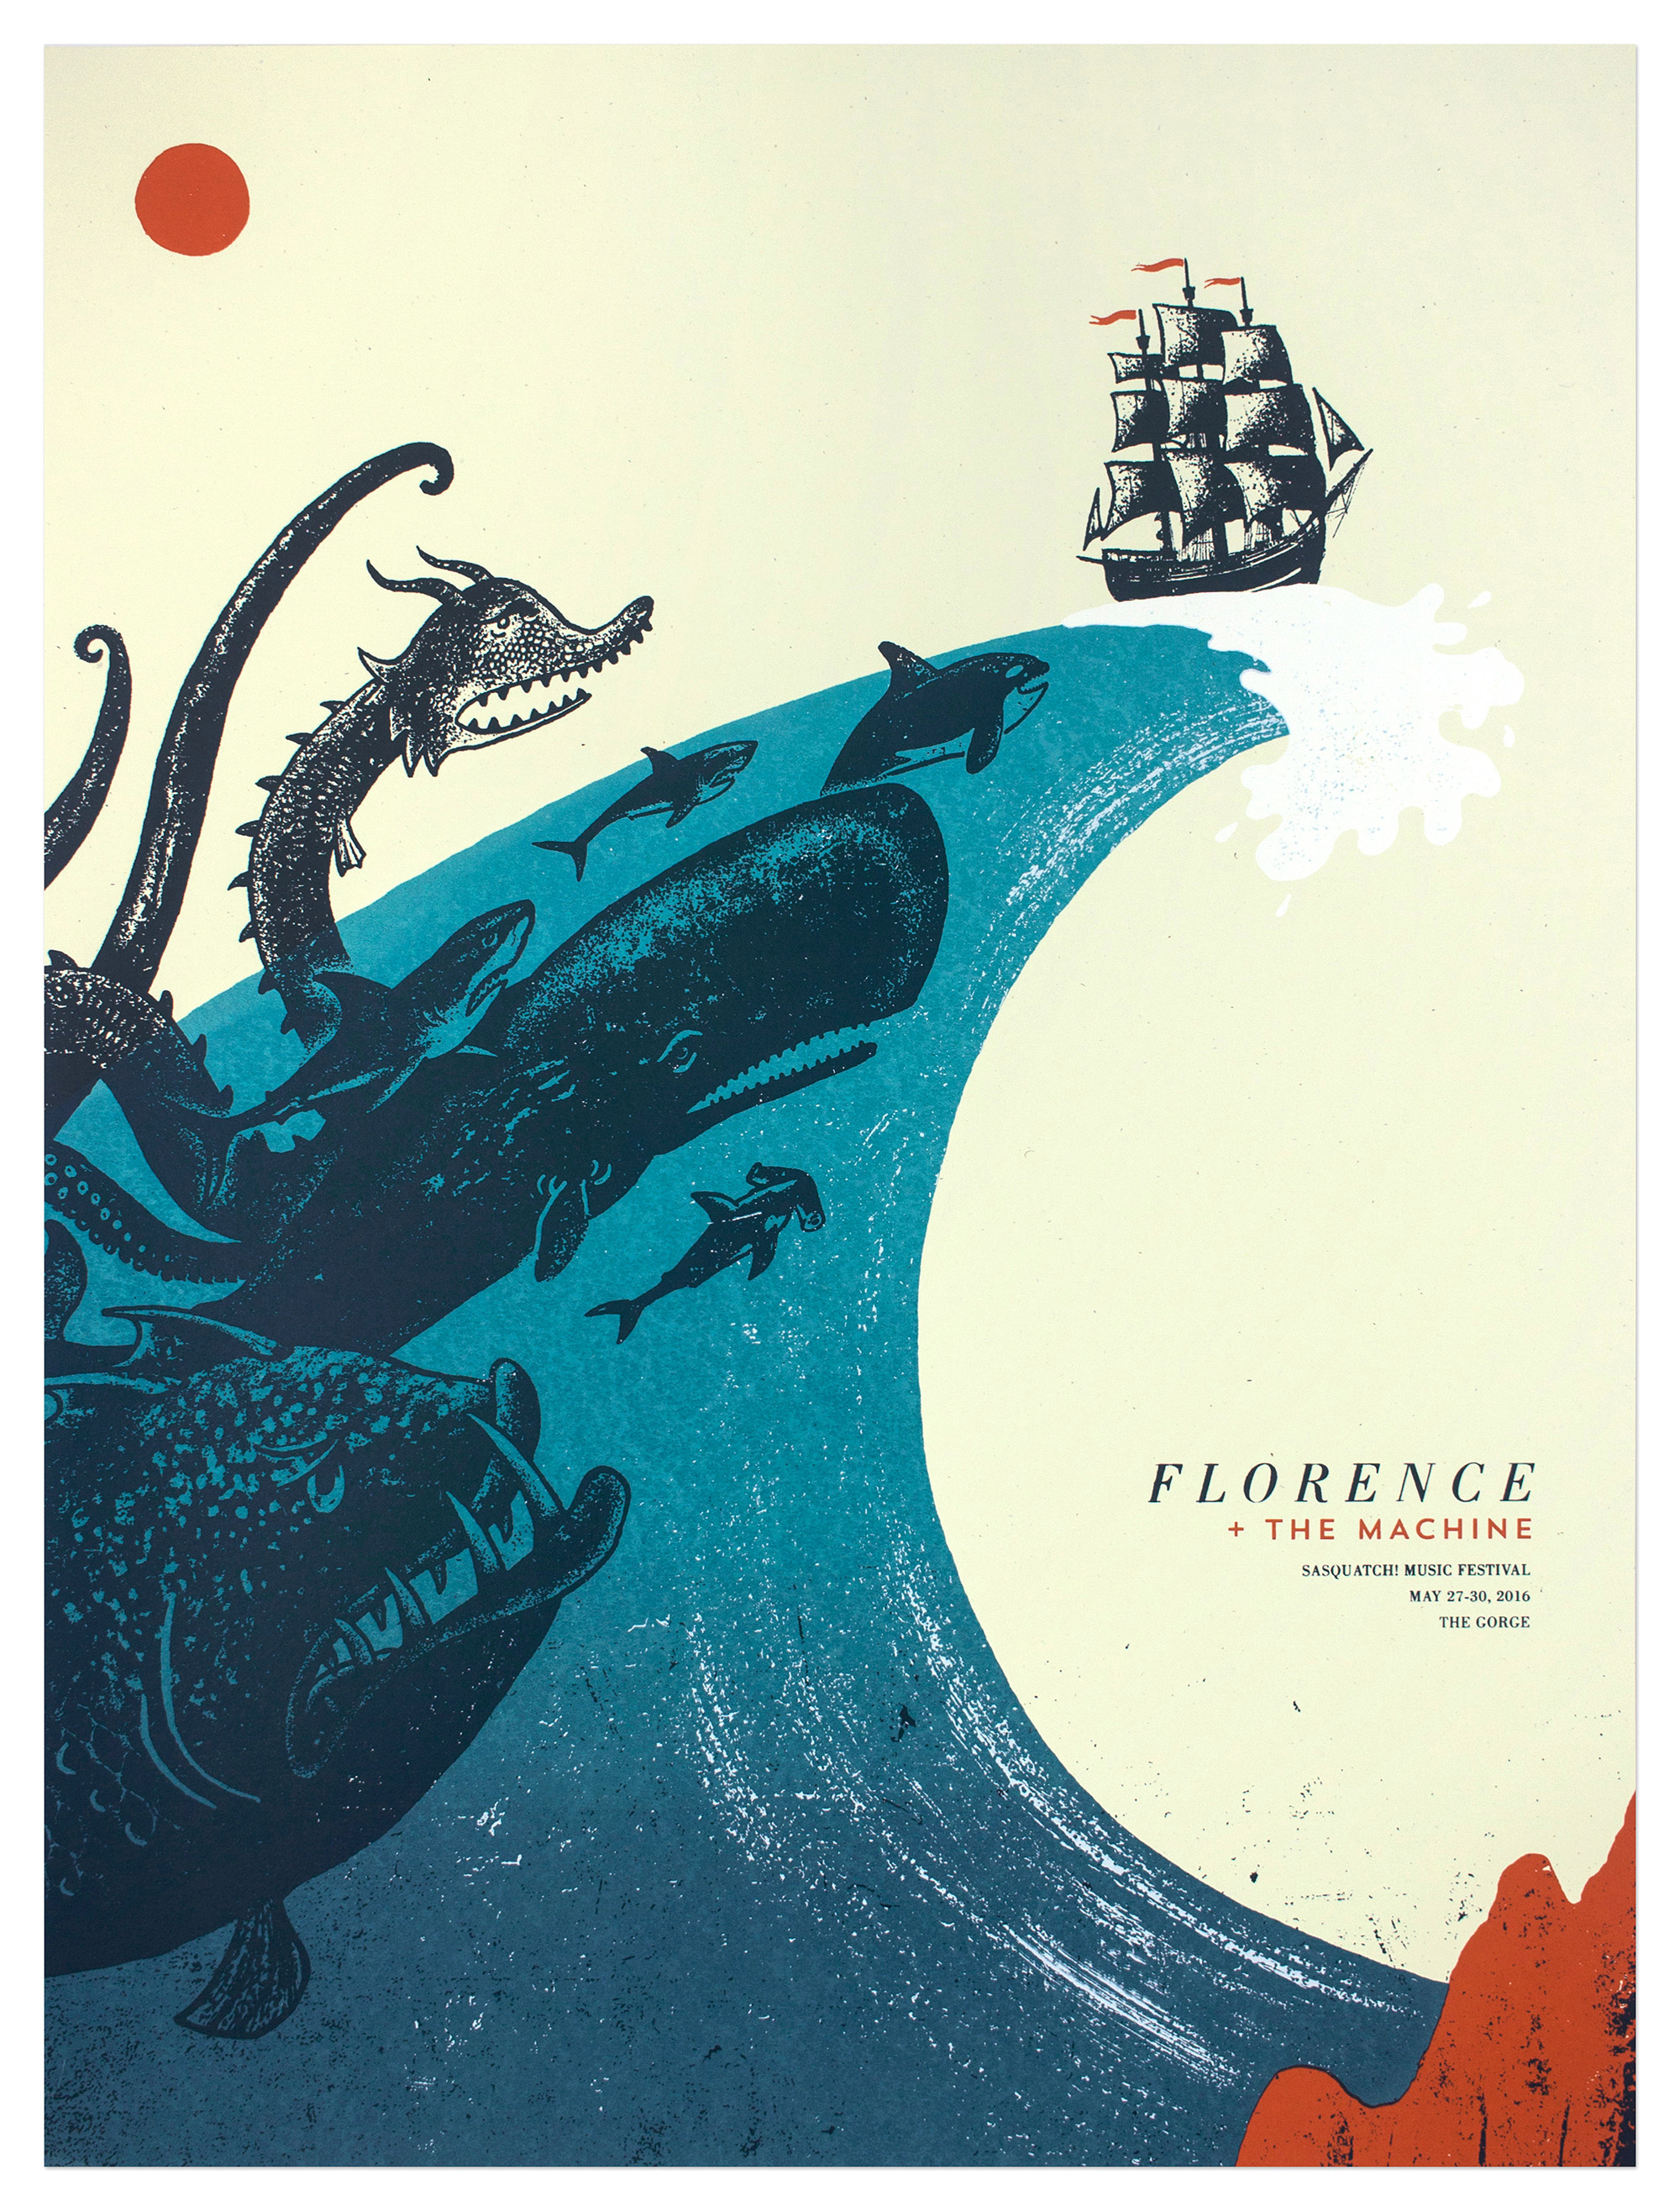
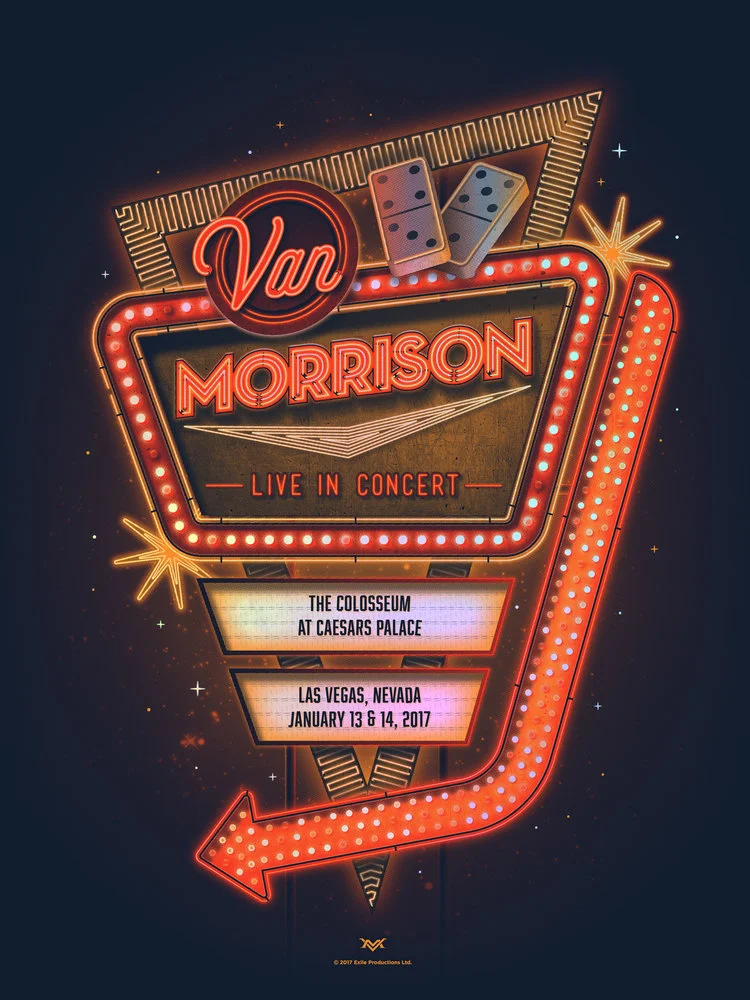
Examples of excellent poster design:


How to make a mailing list in Excel
Tutorial: Create a tab-delimited file in Microsoft Excel for mailing lists
When sending mailing lists to a printer, it's incredibly helpful to have a properly formatted file. Follow these steps to make your own.
Create a mailing list in Excel:
1. Open Excel
2. Create your data labels in the first row (First Name, MI, Last Name, Address 1, Address 2, City, State, and Zipcode).
3. Enter in data points in the boxes below your labels. All data should be consistent in field format and all data points must be separated by field.
Example format:
| First Name | MI | Last Name | Address 1 | Address 2 | City | State | ZIP |
|---|---|---|---|---|---|---|---|
| David | A | Lightman | 123 Eye St. | Suite 1 | Arcata | CA | 95521 |
| Sarah | J | Connor | 456 9th St | Apt. 1 | Arcata | CA | 95521 |
| Marty | S | McFly | 555 H St. | Apt. A | Arcata | CA | 95521 |
4. Matching the sequence of your data labels, type or paste your customer list directly into Excel. Check for errors and correct formatting.
5. Save your Excel file.
Create a tab-delimited file from your Excel worksheet:
1. In Excel, click the File tab, then Save As.
2. In the Save as type box, choose Text (Tab delimited)
3. Browse location where you'd like the file saved, then click Save.
4. A dialog box will appear reminding you that only the current worksheet will be saved to the new file. You can save other worksheets as separate text files by repeating this procedure for each. Click Yes.
5. A second dialog box appears reminding you that your worksheet may contain elements that aren't supported by text file formats. Click Yes.
You are now able to send your tab-delimited text file to your printer!
How to make your own projects
For business cards, flyers, and posters, here are some quick tutorials for building your own projects.
Business Cards
MAKE BUSINESS CARDS IN INDESIGN
MAKE BUSINESS CARDS IN ILLUSTRATOR
Flyers
MAKE A FLYER IN INDESIGN
Posters
MAKE A POSTER IN PHOTOSHOP
Be sure to follow the print guidelines located on the HELP + FAQ page.